***
How do you use yarn leftovers? This written FREE CROCHET PATTERN shows how to crochet Easter Eggs with pieces of bright yarn, or a create body of a Mouse by utilizing your dark yarn :).

What’s so special about small yarn leftovers?
I found approx. 11 meters = 12 yards of unknown SOFT vintage yarn where one ply was BRIGHT and another BLACK, both were twisted together, but not tightly.
The yarn piece looked awful – I really could not get who that yarn producer tried to impress with it – crafters who love bright yarn won’t choose it and people who opt for minimalistic black won’t love it either.
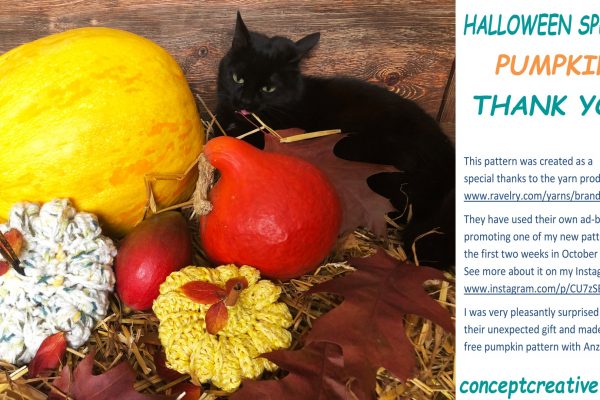
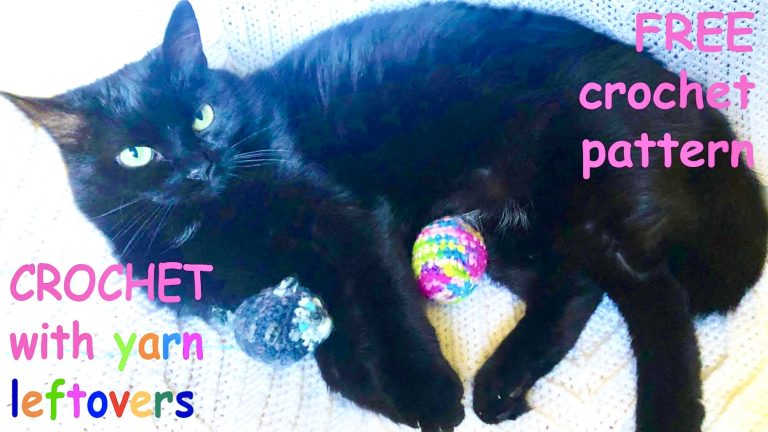
I unraveled dark and bright yarns and look what became of the piece! My cat Alice loves it: www.instagram.com/p/C5EkmZRr7FT
Sure, it’s very simple, but pets need entertainment – my cat always loves to play with something new! We too! :))
You can also crochet a few Easter eggs from your bright yarn leftovers or a Mouse toy for your REAL cat from darker yarn leftovers!
FREE Tutorial for CROCHET EASTER EGG or MOUSE with yarn leftovers
by www.ravelry.com/designers/conceptcreativestore
Don’t forget to share your completed work on Instagram, Facebook and Ravelry to support Conceptcreative-patterns. THANK YOU! 🙂

SIZE: the height of egg or the length of the body of the mouse is 6 cm = 2.4”.
Instructions for adjusting the size are below.
STITCHES and ABBREVIATIONS
(in American crochet terms):
ch – chain
sc – single crochet
st (s) – stitch (es)
prev. – previous
* – repeat stitches from * to *
YARN: For each crochet item I have used 11 meters = 12 yards of soft gradient yarn with short colour sections (every 10-15 cm = 4-6’’ the colour should differ) DK or Worsted-weight = 3 or 4 = Medium or Light (USA) = 8-10 ply (UK) = 9-11 wpi (wraps per inch).
Your yarn should be very soft otherwise you will just hurt your fingers while working tight stitches with a small hook :). You can use soft acrylic, soft not mercerized cotton, bamboo etc.
Alas, I can’t name the brand as those yarn leftovers were bought many years ago in Switzerland by my mother-in-law who is not with us anymore.
HOOK: 3 mm (C or D in the USA).
GAUGE: Gauge becomes critical if you are crocheting garments for a specific size. In amigurumies it’s more important to crochet tight stitches. In this case, there will be fewer gaps between your stitches and stuffing won’t protrude through them.
Copyright © 2024 All rights reserved.
Any reprinting, transmitting, reproducing, publishing or otherwise using for commercial purposes parts of this tutorial and photos is strictly prohibited without my prior written permission. You may give this link to promote this free crochet pattern: https://conceptcreative.club.gothicus.metanet.ch/2024/02/20/easter-egg-from-bright-yarn-leftovers-or-mouse-from-darker-yarn-leftovers-free-crochet-pattern/
Only your completed work (crochet egg/mouse) belongs to you – feel free to sell it, give as a gift as many times as you wish. Feel free to share photos of your finished items here www.ravelry.com/patterns/library/leftover-easter-egg-or-mouse or https://mycrochet.conceptcreative.store
Please do not claim this crochet pattern as your own! Alice won’t like it!


NOTES:
- These samples were worked in the round, each round was joined by slip stitch in the first stitch in this round.
- If you wish to work in spirals, you can disregard all slip stitches and work sc across sts of the previous round.
- It’s convenient to mark last st of each round to keep track of stitch count.
Free video tutorial for the Crochet Easter Egg and for the Crochet Mouse: https://youtu.be/EIuKbfHf8gE
With a 3 mm hook chain 3, join with slip st into a ring, work in the round:
Round 1: 7 sc into the ring, join with slip st in 1st st.
Round 2 (photo): 2 sc in each sc of prev.round, join with slip st in 1st st (14 sc).

Round 3: *1 sc in each of 2 sc, 2 sc in 1 sc of prev. round*, repeat from * around, ending with 1 sc in each of last 2 sc, join with slip st in 1st st (18 sc).
The diameter of this round in each sample shown is 3.5 cm = 1.4’’ and is sufficient for an egg or body of a mouse.
- How to change the width: For a larger egg work additional Round 3 with increases in a similar manner. Next rounds will be with fewer increases:
Round 4 (photo): *2 sc in 1 sc, 1 sc in each of 4 sc of prev. round*, repeat from * around, ending with 1 sc in each of last 2 sc, join with slip st in 1st st (22 sc).

Round 5: *1 sc in each of 7 sc, 2 sc in 1 sc of prev. round*, repeat from * around, ending with 1 sc in each of last 6 sc, join with slip st in 1st st (24 sc).
Round 6: work 2 sc in 1 sc in 1 st in the beginning of this Round, 1 sc in each of next sc, join with slip st in 1st st (25 sc).
Round 7: 1 sc in each 1 sc, join with slip st in 1st st (25 sc).
Round 8: work as Round 7.
The height of your work reaches ½ of your finished crochet piece (photo):

Decrease sts in next rounds:
Round 10: *1 sc in each of 6 sc, 2‐sc‐cluster across 2 sc*, rep from * around, ending with 1 sc in last sc, join with slip st in 1st st (22 sc).
- 2‐sc‐cluster = sc2together is made as follows: insert hook in 1 st, draw yarn (= 2 loops on the hook), insert the hook in next st, draw yarn (= 3 loops on the hook), draw yarn though all loops on the hook.
Round 11: *2‐sc‐cluster across 2 sc, 1 sc in each of 3 sc*, rep from * around, ending with 1 sc in each of last 2 sc, join with slip st in 1st st (18 sc).
Round 12: *1 sc in each of 2 sc, 2‐sc‐cluster across 2 sc*, rep from * around, ending with 1 sc in each of last 2 sc, join with slip st in 1st st (14 sc).
Round 13: *2‐sc‐cluster across 2 sc, 1 sc in each of 2 sc*, rep from * around, ending with cluster, join with slip st in 1st st (10 sc).
You can fill it now with stuffing – small yarn pieces or polyester wadding (Sintepon).
Round 14: work 2‐sc‐clusters across every 2 sc, then draw thread through each stitch to secure, tighten and knot.
If you make a mouse – see customization for a mouse below.
For an Easter egg pull the tail though the egg to make this end of the egg rounded as well.

Customization for a mouse:
Pull the sts from last Round forward to form a nose, embroider last Round using a needle and pieces of pink or white yarn.
Embroider two eyes with a piece of blue yarn or thread and the needle.
Crochet ears above eyes: attach yarn approximately 1 cm = 0.4” above the eye; with yarn taken double work 3 sc in 1 st, leave a 10-cm = 4’’ long tail, cut and fasten off.


Tail: attach yarn to the bottom, work a chain 2.5 cm = 1’’ long, turn, and work 1 sc into each ch, leave a 10 cm = 4’’ long tail, cut and fasten off.
Hide all ends inside your mouse.
Finished! Congratulations!
Photo below shows mouse and egg on the ArtDeco scarf: Conceptcreative.store/artdeco-scarf